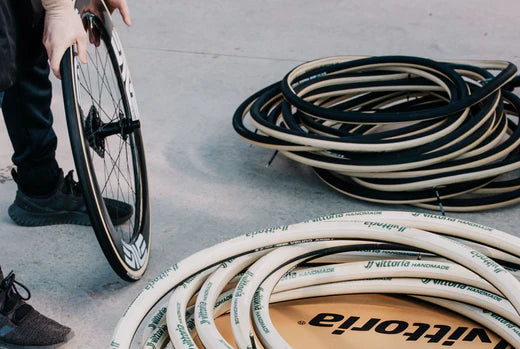
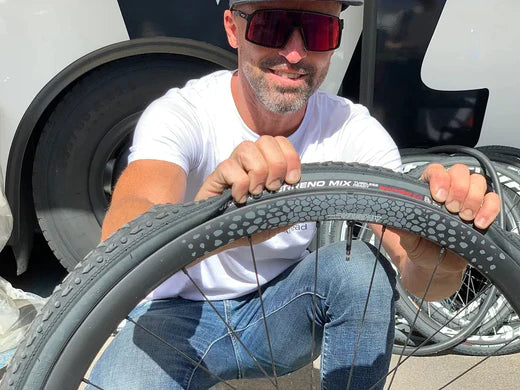
The tubular tire, also known as Palmer, is a method of building a casing, and is quite popular in high level road racing applications. In tubular construction, the casing material is wrapped around an innertube, and sewn closed along the bottom of the casing, opposite the tread. The only connection of the inner tube with the outside is the valve. Despite the growing popularity of tubeless tires, tubulars are still the choice of many professional cyclists.
The advantages of tubular road bike tyres
Thanks to the higher inflation pressures tubular tires can withstand, they are able to offer lower rolling resistance and greater smoothness. Despite the highest pressure, tubular road bike tires absorb bumps and the roughness of the road in a very good way. The pressure’s distributed more evenly, and the inner tubes expands regulary. Tubular tires provide an even and reliable contact area where the tread meets the ground. This improves grip, control, predictability, and allow the cyclist to use the lateral part of the tread. A further advantage the tubulars is their lightness. The tubular rim is lighter than tubeless and clincher ones, as road bike tubulars do not need reinforced walls and the tires do not have beads. More than 200 grams can be saved using tubular rims. The best tubular road bike tires are made with cotton casing, the use of this textile fiber allows an optimal deformation of the tire, more grip and better rolling effectiveness.
How to mount tubular bike tires
- Make sure you have the right wheels: tubulars tires are not compatible with tubeless wheels and foldable tires, but require specific wheels dedicated to this purpose.
- Cleaning the wheels: if the wheel is not new, it is suggested to clean it in the best way possible. To do this, you can use sandpaper, wiping it until all the old residues are unstuck. Finally, it is recommended to wipe with a damp cloth together with the degreaser.
- Application of the Mastic: once the wheel is cleaned you must proceed by applying the glue on it. You can help yourself with a brush or a toothbrush, the advice is to do a quarter of a wheel at a time. To apply it in the best way, it will have to be spread all over the inner part of the circle. At this point the wheel is ready.
- Preparation of the tubular tire: take a new tubular road bike tires, inflate it a little bit, just to allow it to take the ideal shape. Then apply the mastic to it as well, and at this point the tire can be applied to the rim.
- How to apply the tubular: start by inserting the valve first, which must be in the upper part. Pull and insert the tubular evenly, both on the right and on the left with the same force, to make it adhere evenly. When the last part is missing it will be the most difficult, but by increasing the thrust it will fit in without problems. Now is the time to check if the tire is inserted correctly and the wheel turns without obstruction. If there is any excess mastic on the edges of the wheel, a good idea is to spread it between the shoulder of the tubular road bike tires and the rim.
- How to finalize the gluing: once the wheel is assembled in all its components, it is necessary to bring the tire to the maximum of its indicated pressures, (even if it will subsequently be used at lower pressures). This is because it will allow the tire to stick to the wheel in the best possible way. Also helping with the weight of your body, you must lean on the wheel in all its parts, always to make the mastic adhere to the best. At this point, let rest the tubular tyres for 24/48 hours and then it will be ready to be used.

